3rd Birthday – Layout 2nd page for Pagemaps Challenge

I decided to create page that coordinates with the layout on my previous post. For the 2nd page of the layout, I used the current Pagemaps sketch, due midnight on Sunday, Feb 5, 2012 (MST). I used a lot of the same papers and materials to make the 2 pages more cohesive since they weren’t meant to be a 2 page spread (which I don’t tend to make anyway). I still wanted to show that the 2 pages go together for the same event. Since it goes with the previous layout, I did not add a title to this page and moved the journaling to work more for what I changed. Here’s my take on the sketch:

Materials:

October Afternoon Hometown and Daydreams pp
OA Modern Homemaker buttons
OA rubons
OA County Fair and Daydreams diecut shapes
OA Detours diecut journaling cards
Twine from The Twinery
Maya Road trim
Distress Ink

Adhesives:

Helmar Quick Fix Adhesive Runner
Helmar 450 Quick Dry
Helmar Zap Dots
Helmar Liquid Scrap Dots

The fabulous Pagemaps sketch I used:

TFL!

Advertisement

3rd Birthday – Layout for the first SYAO2 Challenge at Paper Secrets

The first sketch for SYAO2 at the Paper Secrets Forum has been posted and I signed up to participate this round. It’s a progressive, weekly challenge that continues until 1 scrapper remains and the grand prize is a $75 gc to the Paper Secrets store. (sign ups are over for this challenge, but you can still sign up for the progressive card challenge which has a $50 gc grand prize).

Now that Matthew is turning 6 next month, I’m finally scrapping his birthday pics from when he was 3! LOL From the list of supplies, participants are required to select 4 out of the 8 listed and I used 6 of them. The supplies I used are twine, 3+ buttons, 3+ flowers, rubons, raw corrugated cardboard and staples. We’re also required to pick 1 technique out of 3 to incorporate into our design. I selected 2…stamping and embossing (the word birthday in the title). Here’s my take on the challenge:

Materials: October Afternoon Hometown and Daydreams pp
OA rubons
OA Modern Homemaker buttons
OA rubber charm
Jillibean Soup corrugated cardboard shapes
Twine from the Twinery
My Mind’s Eye Lush 2 journaling spots
Webster’s Pages Storyteller alphas
TPC Studio stamp
Ranger Embossing Powder
Archival Ink

Adhesives:

Helmar Quick Fix Adhesive Runner
Helmar Zap Dots
Helmar Liquid Scrap Dots
Helmar 450 Quick Dry

The fab Pagemaps sketch we worked with:

TFL!

Post-It Note Holders – Inspired by Helmar

Nearly every Monday, Helmar has live Ustream classes that are really fun to watch. The ladies that participate each week are so much fun to chat with and there’s a different creative project featured each week. On August 22, 2011, Tracy was the host (sometimes it’s Jess aka Kinderstampo), and she made the cutest little post-it note holders that I thought were just perfect for teacher gifts! This year I needed to create 5 gifts (Matthew’s teacher is on maternity leave after having baby number SEVEN so he has a long-term sub). Here’s the link to her recorded show: Note Holder Tutorial

In the video, Tracy shows how easy they are to make using regular square coasters with rounded corners, but I didn’t have any on hand and it didn’t seem likely that I could just duck into a restaurant and grab a few. lol But…last week Larry happened to be waiting for the car to be inspected and went to lunch with his boss. While out, he actually remembered that I needed some and snagged me 10. So he not only remembered that I needed them, but also remembered how many! How great is THAT?!! 😀

Anyway, I decided to make one a little different and used a 4×8 scalloped chipboard rectangle that I cut in half to create the 4×4 size I wanted. On another one, I trimmed of a 1/4″ off of one side to give it a different shape. So far, I’ve made 4 out of the 5 I need, so keep an eye out for #5 coming soon! Here’s how mine turned out:

I went ahead and took a pic of the inside on two of them because there are two things that I do that are not in Tracy’s video. The first difference…though I do bind with the seam of the rings on the inside of the covers, so it’s not exposed, I also glue the rings down using Helmar 450 Quick Dry to make it easier to open and close. The ring is then attached to the base and the cover is free to move along it’s track w/o taking the rings with it.

The second difference…In Tracy’s video, she removed the backing on the post-it pad and glued the pad to the base. For mine, I also removed the backing, but I glued just the top 1/2″ (the part that has the removable adhesive already on it) to a piece of 3″ x 3″ cardstock which is the same size as the post it pad. I then added a strip of patterned paper to the base where it is only glued on the 2 side edges. Once dry, you can then slip the cardstock backing that you added to the post it pad under that strip to hold it neatly in place. Normally I would match the pattern so you can’t see where this strip is, but for one I used contrasting paper so you can easily see what I’ve done.

TFL!

Last set of Layouts from the Scrapbook Challenges Event

***Warning – This post is photo heavy*** In order to get the rest of the layouts from last month posted quickly so I can move onto this month’s reveal at Let’s Capture These Sketches, the last 4 layouts from last month are all in this one post.

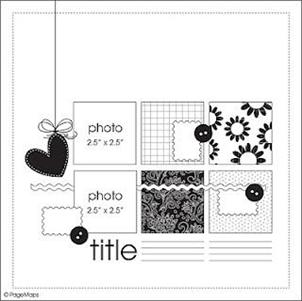
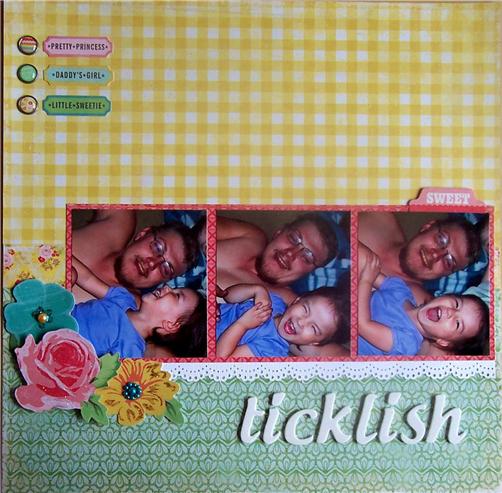
I had a lot of fun working with this next sketch. I ended up rotating it 90 degrees and using 2 photos instead of 1. I also relocated the title to suit my layout. Here’s what I came up with for Sketch SS03:

I used the Pink Paislee Daily Junque line and used the patterned paper to create a nice scalloped border and the flower I pieced together. Fun line to work with. 😀 Here’s the fab sketch I got to use:

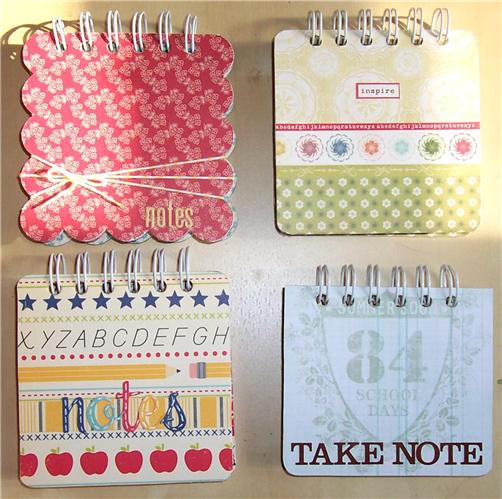
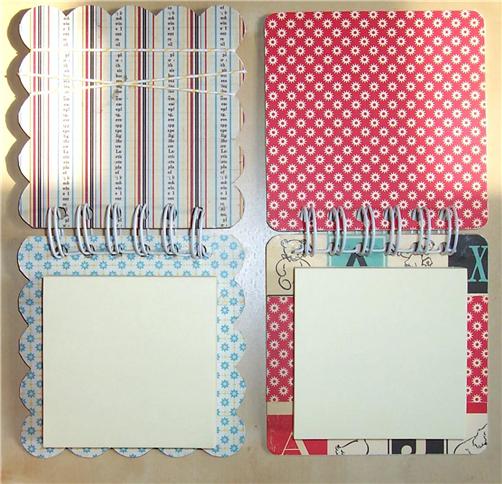
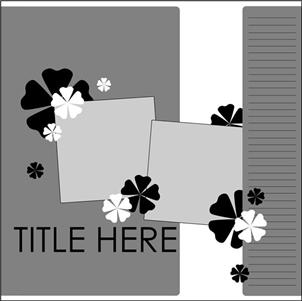
For the next one, I went CAS again. The sketch already was pretty clean, but I straightened out the wavy lines and added a bit flowers and glitter. Here’s my take on Sketch SS12:

For this one, I stuck with Crate Paper’s Emma’s Shoppe. The border punch is by Martha Stewart. I added stickles to my flowers. Here’s the sketch I worked with for this one:

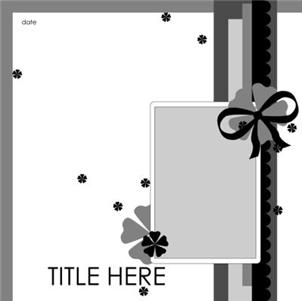
Next up is a departure from my norm once again. One of my goals for this year is to scrap “real life” so not just the happy moments but real life stuff that happens. So, I scrapped about what happened this last Winter and how we found out Matthew had Lyme Disease. I used sketch SS07:

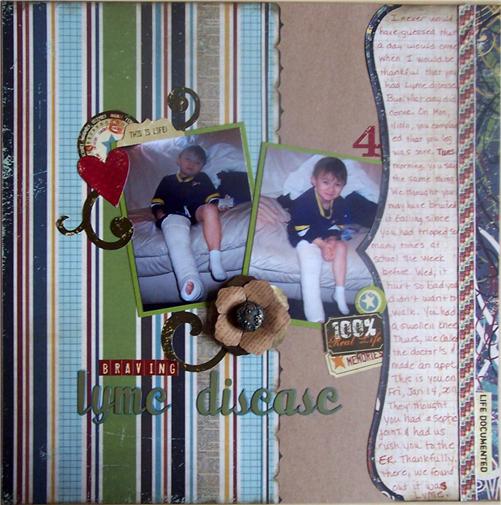
Simple Stories Destination papers and Life Documented stickers. G45 metal flower, paper flowers and brad. Maya Road trim and Pink Paislee green alphas. Here’s the sketch I used:

This last one I did for fun. The sketch looked really interesting and had a lot of possibilities, so I really liked working with it. I decided to go with Matthew being…well, Matthew! lol This super photogenic little guy poses for pics, but then when he’s had enough starts making funny faces. I guess he was quite distracted by the baby, cuz I managed to get tons of fab photos before he started sticking out his tongue and being goofy (normally it’s soon after the first pic). I scrapped most of the other photos, so I figured I might as well scrap this fun photo too. 😀 Here’s my take on Sketch SS14:

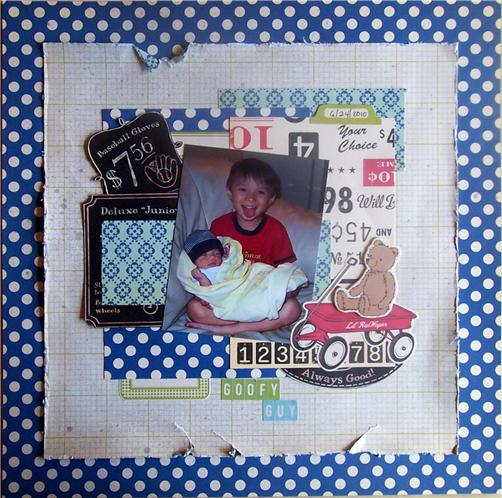
October Afternoon 5 and Dime papers, stickers and chipboard. Here’s the super fun sketch:

TFL!

Previous Older Entries Next Newer Entries