Nearly every Monday, Helmar has live Ustream classes that are really fun to watch. The ladies that participate each week are so much fun to chat with and there’s a different creative project featured each week. On August 22, 2011, Tracy was the host (sometimes it’s Jess aka Kinderstampo), and she made the cutest little post-it note holders that I thought were just perfect for teacher gifts! This year I needed to create 5 gifts (Matthew’s teacher is on maternity leave after having baby number SEVEN so he has a long-term sub). Here’s the link to her recorded show: Note Holder Tutorial
In the video, Tracy shows how easy they are to make using regular square coasters with rounded corners, but I didn’t have any on hand and it didn’t seem likely that I could just duck into a restaurant and grab a few. lol But…last week Larry happened to be waiting for the car to be inspected and went to lunch with his boss. While out, he actually remembered that I needed some and snagged me 10. So he not only remembered that I needed them, but also remembered how many! How great is THAT?!! 😀
Anyway, I decided to make one a little different and used a 4×8 scalloped chipboard rectangle that I cut in half to create the 4×4 size I wanted. On another one, I trimmed of a 1/4″ off of one side to give it a different shape. So far, I’ve made 4 out of the 5 I need, so keep an eye out for #5 coming soon! Here’s how mine turned out:
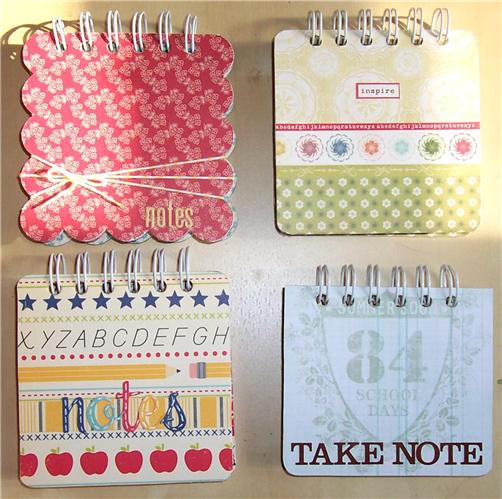
I went ahead and took a pic of the inside on two of them because there are two things that I do that are not in Tracy’s video. The first difference…though I do bind with the seam of the rings on the inside of the covers, so it’s not exposed, I also glue the rings down using Helmar 450 Quick Dry to make it easier to open and close. The ring is then attached to the base and the cover is free to move along it’s track w/o taking the rings with it.
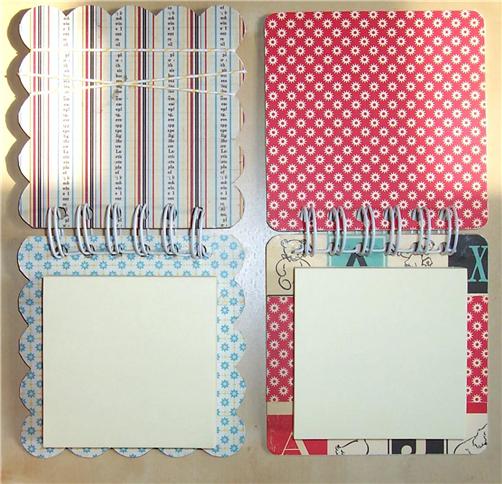
The second difference…In Tracy’s video, she removed the backing on the post-it pad and glued the pad to the base. For mine, I also removed the backing, but I glued just the top 1/2″ (the part that has the removable adhesive already on it) to a piece of 3″ x 3″ cardstock which is the same size as the post it pad. I then added a strip of patterned paper to the base where it is only glued on the 2 side edges. Once dry, you can then slip the cardstock backing that you added to the post it pad under that strip to hold it neatly in place. Normally I would match the pattern so you can’t see where this strip is, but for one I used contrasting paper so you can easily see what I’ve done.

TFL!


