Welcome back! To help with ideas for my challenge in the Creative Embellishments online Birthday Crop in their Facebook Fan group (see previous post), I decided to create a photo tutorial on how to make a quick and easy envelope box for A2 sized (4 ¼” x 5 ½”) dimensional cards. Stop back tomorrow for an easy gift bag tutorial! 🙂 You can really adapt this basic template to suit just about any size card. For my examples, I’m using measurements and fold lines to suit ¼” and ½” thick cards. with a little extra space for the length and width, so the card doesn’t fit too tightly, and used plain white cardstock so I could write the measurements directly onto the paper in the photos. For your first few, I would recommend using solid cardstock or patterned paper that has a design where direction does not matter because your paper design will end up going diagonally on the finished project if you do not compensate for the pattern direction.
First up is the ¼” thick envelope:
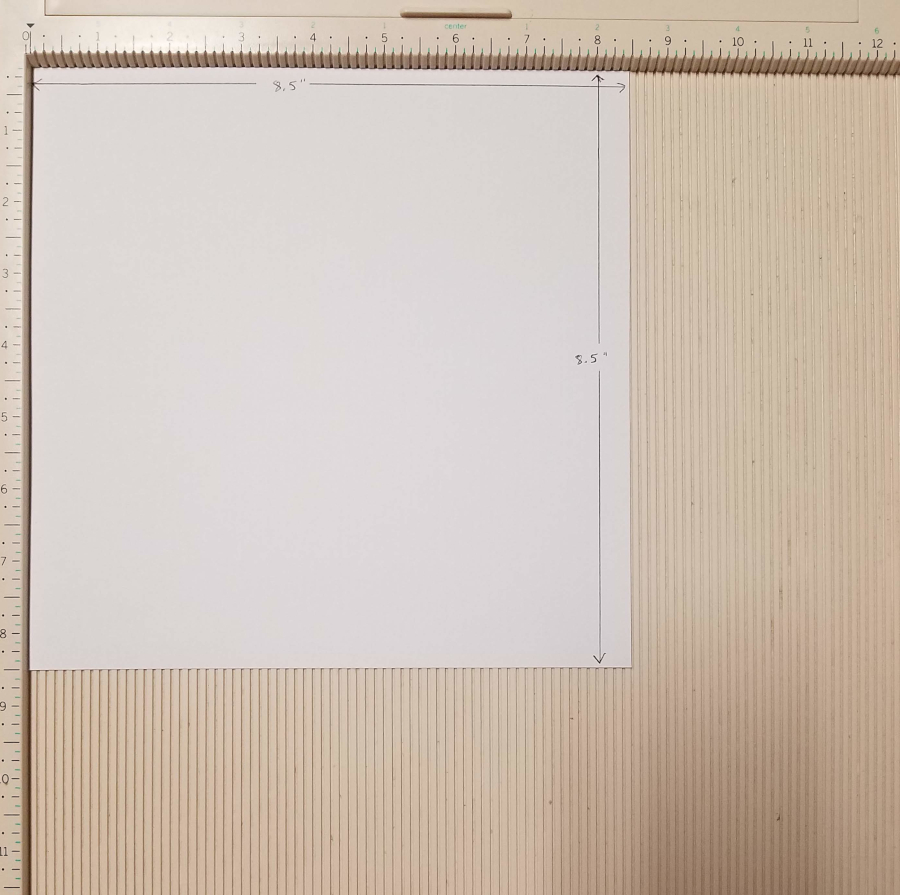
Start with an 8 ½” x 8 ½” square.
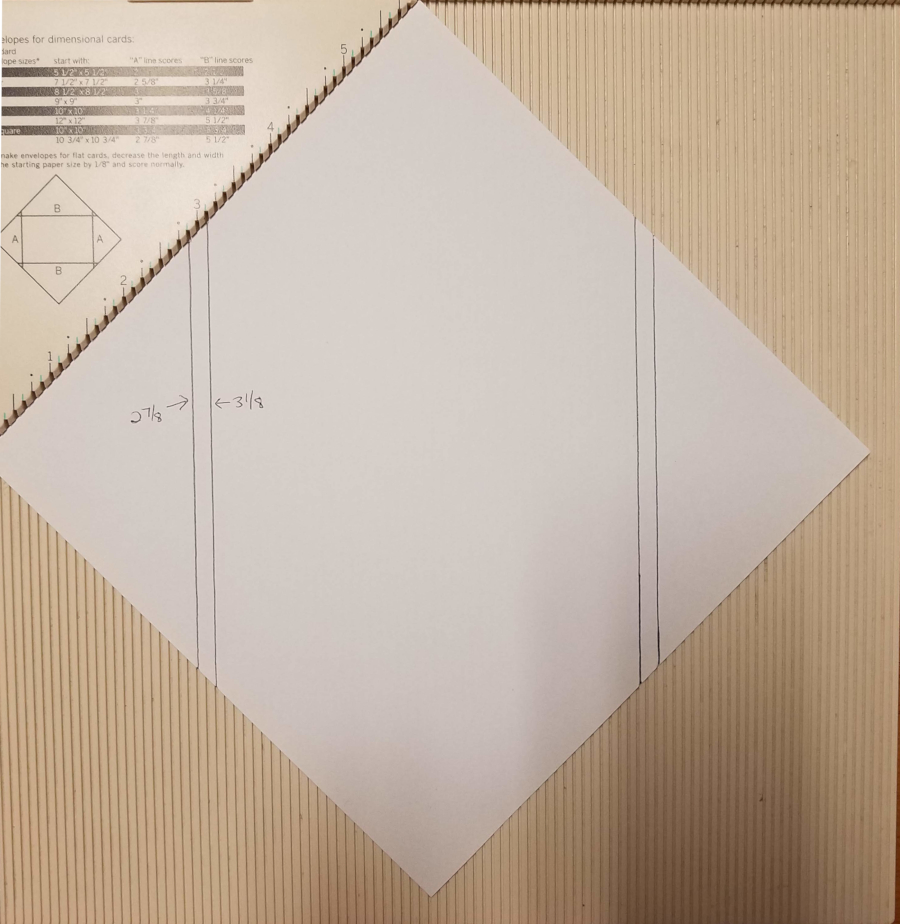
Using a scoreboard, place your score lines at 2 7/8″ and 3 1/8″ from the corner for one flap, then rotate the paper and do the same for the opposite corner. These are the left and right flaps of the envelope. The photo shows black lines where your score lines should be.

Turn the paper to the side and score 3 ½” and 3 ¾” from the corner, then rotate the paper and do the same for the opposite corner. These are the top and bottom flaps. The photo shows purple lines where your score lines should be.

Cut where I have the hot pink marker lines. Note that you are not cutting off the entire triangle shape formed there. Only cut where I’ve indicated with the marker because this will leave little tabs you will fold in when closing the envelope box.

This is what your paper should look like once you’ve cut where indicated in the previous photo.

Fold on the score lines. You can use a corner rounder on the top and bottom flaps if you’d like.

Tuck in the bottom tabs and side flaps and fold the bottom flap up and adhere it to the side flaps using your tape runner, double sided tape, or glue to form a pocket. I find it helps to insert a solid object like a thin stamping block into it when assembling so that it’s lined up straight. At this point, the base is done and you could decorate your envelope. Once you insert your card, bring the top flap down and seal. You’re done!
Instructions for 1/2″ thick envelope box:
Start with an 8 ½” x 8 ½” square.

Using a scoreboard, place your score lines at 2 5/8″ and 3 1/8″ from the corner for one flap, then rotate the paper and do the same for the opposite corner. These are the left and right flaps of the envelope. The photo shows black lines where your score lines should be.

Turn the paper to the side and score 3 ¼” and 3 ¾” from the corner, then rotate the paper and do the same for the opposite corner. These are the top and bottom flaps. The photo shows purple lines where your score lines should be.

Cut where I have the hot pink marker lines. Note that you are not cutting off the entire triangle shape formed there. Only cut where I’ve indicated with the marker because this will leave little tabs you will fold in when closing the envelope box.

This is what your paper should look like once you’ve cut where indicated in the previous photo.

Fold on the score lines. You can use a corner rounder on the top and bottom flaps if you’d like.
Tuck in the bottom tabs and side flaps and fold the bottom flap up and adhere it to the side flaps using your tape runner, double sided tape, or glue to form a pocket. I find it helps to insert a solid object like a thin stamping block into it when assembling so that it’s lined up straight. At this point, the base is done and you could decorate your envelope. Once you insert your card, bring the top flap down and seal. You’re done!
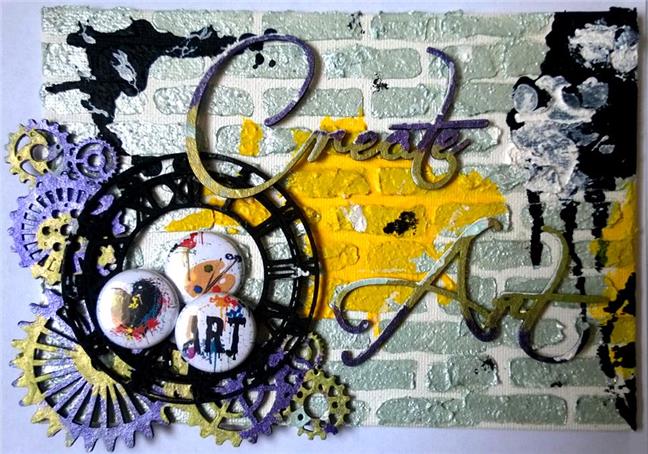
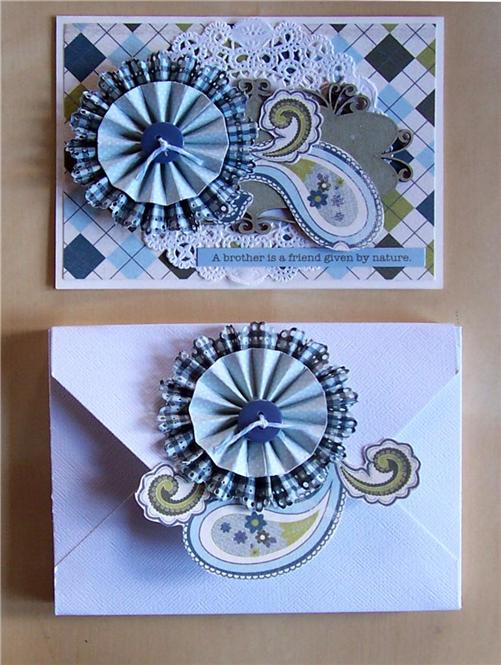
Here’s a very simply decorated example using a plain white base. It was the first envelope box I ever made using this same method, but different measurements:
I hope you found this tutorial helpful!
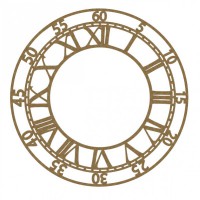
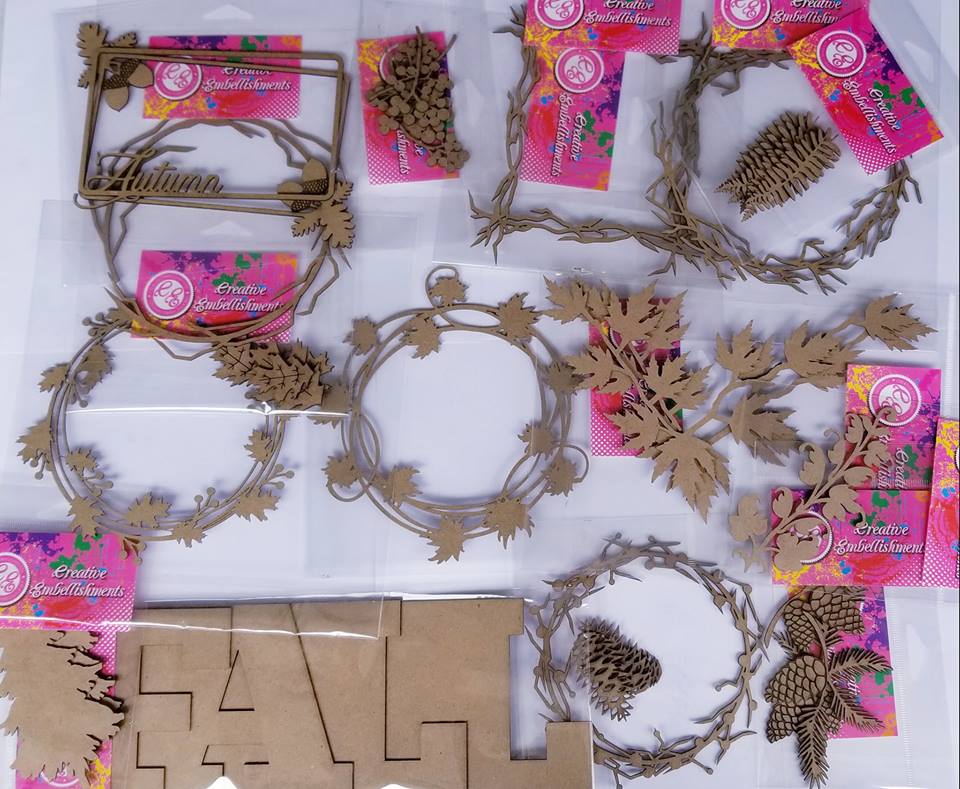
Play along with my challenge (either make a package or alter one! So either take an empty container and alter it or make an envelope box, gift bag, etc.) in the Creative Embellishments Birthday Crop for a chance to win this amazing prize:

There are a total of 8 mini challenges available and 8 incredible prizes (FOUR $30 gift vouchers and 4 prize packs):

Use of CE products is not required in order to enter and win the challenges, but if you do use CE products, you can also enter your project to win this gorgeous prize pack:
For full details, join the fb group here: https://www.facebook.com/groups/1985585078160468/ and click “going” on the event to view all the challenges. Entries are due by midnight ET Sept 17th (12 am ET Sept 18th).