Valentine’s Tags – Creative Embellishments

I love the versatility of Creative Embellishments 6×6 panels! For my two tags, I used the chipboard panels as a mask for the background with a Tattered Angels mist and can still use the pieces on future projects! You can even use them as stencils with modeling paste or textured mediums to create a background with texture and dimension! For these tags, I stamped the backgrounds for added details once the mist dried. All my chipboard pieces were altered with acrylic paints. I stamped over the window to give it a bit of added interest. For the wood veneer hearts, I first applied black india ink with a brush, the brayered over the raised details with acrylic paint to make the texture pop. 😀 The tag on the right was inspired by a journal cover created by Gabrielle Pollacco.

The two tags:

both tags


Close ups of the background details:

tag close up 2

tag close up 3


Close ups of the layered pieces:

tag close up 1

tag close up 4


The CE products used on the 2 tags:

mini-quatrefoil-panel-642-600x600full-of-heart-panel-446-600x600distressed-crackle-stamp-637-600x600grunge-music-note-sheet-stamp-409-600x600long-stem-roses-450-600x600hearts-167-600x600valentine-s-hashtags-515-600x600arched-windows-set-of-2-433-600x600branches-set-of-3-862-600x600


Advertisement

Spooky Halloween Tag – Creative Embellishments

I’ve always loved how Creative Embellishments makes it so easy to put together a quick card or tag without sacrificing dimension. For this quick an easy tag, I used 4 different background stamps. I used stazon ink with the text, crackle, and distressed grid stamps and layered them on the background. I then used the paint splat stamp to heat emboss some splatters for a little added color. I splattered some inks from Lindy’s Stamp Gang onto the base of my tag and misted it lightly with Tattered Angels Coffee Shop mist (my all time fave of their mists). Once I had that complete, I inked the edges with distressed ink. I altered by chippies with black, silver and white acrylic paint and heat embossed the title piece. Here’s how it all came together:

tag 2


Close up of the top of the tag:

tag close up top


Close up of the bottom of the tag:

tag close up bottom


the CE products I used:

creepy-trees-257-600x600scary word set-800x800tombstone border-800x800distressed-text-stamp-530-600x600distressed-grid-488-600x600distressed-crackle-stamp-637-600x600paint-splat-trio-stamp-762-600x600

Altered Webster’s Pages Color Crush Planner – Creative Embellishments

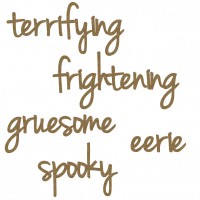
I’ve used a planner to keep myself organized most of life, but had gotten away from relying on one the last few years. Then I saw a deal on Blitsy that I couldn’t pass up! I’ve been a long-time fan of Webster’s Pages and love their Color Crush Planners, so I grabbed the pink one while I could (I think they have A5 sized ones coming out early to mid November, btw). 😀 WP is best known to me as a scrapbooking company, so I decided to have a little fun with it! I had a lot of fun combining my love of scrapping with the awesome Creative Embellishments products I get to work with! 😀 I just added a few fussy cut images from Graphic 45’s Happy Haunting paper line from a few years back and here’s what I came up with:

oct divider

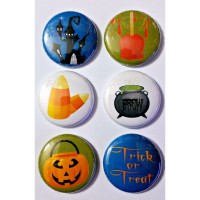
Here’s an altered divider from the planner. It’s paper weight, so I gesso’d the page before staining the border with Distress Stain and splattering it with a few Tattered Angels mists in coordinating colors and some India ink. See that flair button peeking out at the top? I made paper clips using CE’s awesome flair buttons. Isn’t it adorable?!! I altered my wood veneer pieces with a mixture of acrylic paint, India Ink, Distress Stains and TA mists.

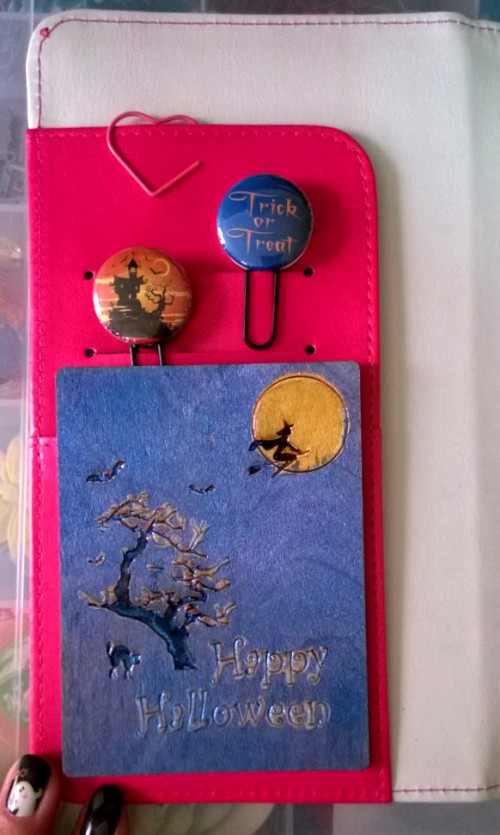
Here’s how it looks in the planner:

oct open to divider


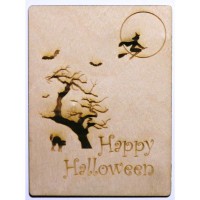
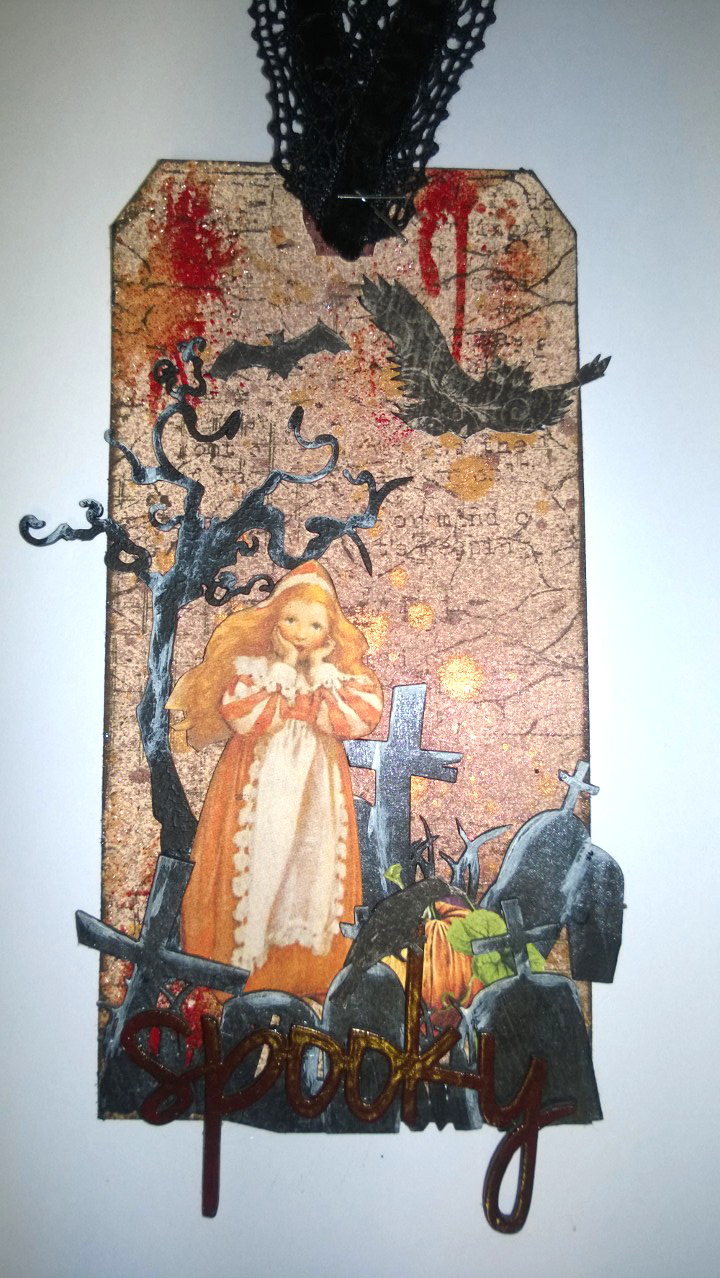
I wasn’t really sure what I wanted to do with the pockets in the front cover, but then I thought of CE’s fabulous 3″ x 4″ wood cards! They’re great for pocket pages, project life and cards, but I decided to alter the Halloween one for that space. I just adhered a folded piece of cardstock to the back so I could slip that into the pocket to hold my wood piece in place. 😀 To alter it, I filled all the etched portions of the piece with glossy accents to help prevent the color from bleeding. I then colored in the moon portion with a PITT marker. I laid a quarter over the moon (perfect size!) to use as a mask and misted the rest of the card. It didn’t photograph well, but looks really cool irl. 😀

Here’s how it turned out along with 2 of the other paper clips I made with the CE flair buttons:
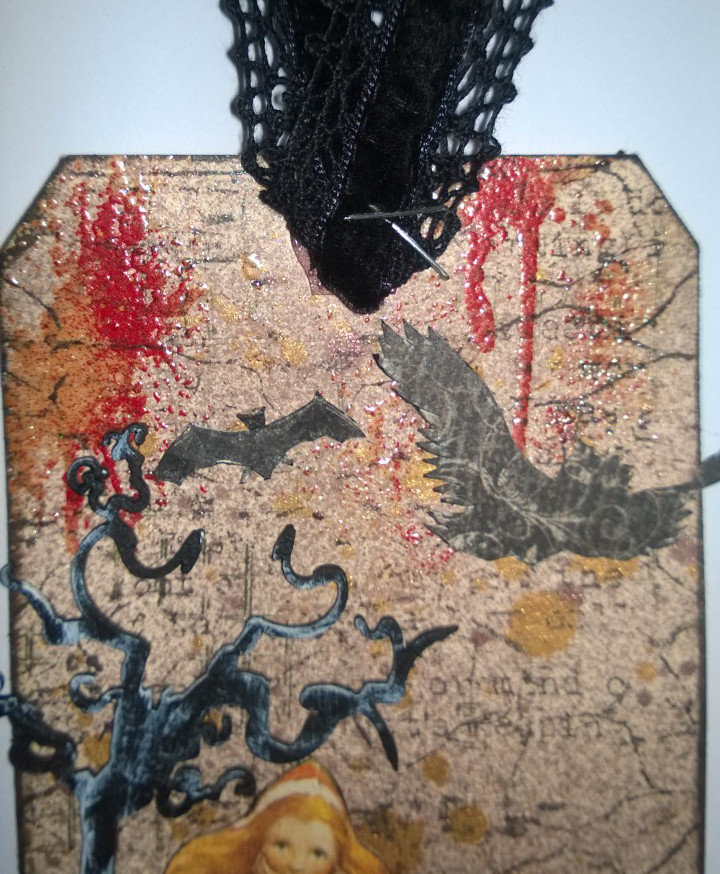
oct inside cover full


A closer view:

oct inside cover


I hope you enjoyed my project! Be sure to check out the Creative Embellishments store to take advantage of their 30% off SALE going on RIGHT NOW! The sale ends tonight at 11:59 PM ET!

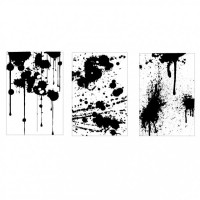
The awesome CE pieces I used on this project (click the pic to be taken to the store listing)…

happy-halloween-3-x-4-card-251-600x600autumn-leaves-set-of-6-108-600x600pumpkins-146-600x600ghosts-set-of-6-274-600x600halloween-scene-2-248-600x600Trick-or-Treat-800x800

Movie Night – dt layout for SWAT drill #24

SWAT’s drill #24 (sketch plus buttons) is now live! For my example I decided to go with pics of my 2 oldest sons, Taten and Alex, from when we went to the movies to see the second Hunger Games movie, Catching Fire, for Taten’s birthday. It’s really hard to get a serious photo of my silly 14 year old. He’s faster than my flash and I can rarely get the photo before he strikes an…interesting…pose. lol I managed to get one out of the two without him hamming it up. 😀 Here’s what I came up with (sorry for the blurry pic of my layout. I have really bad indoor lighting and it was taken at night):

Movie Night

Materials:

Creative Embellishments Movie Night laser cut chipboard set
Graphic 45 pp
gesso
acrylic paint
white sharpie marker
white ink pen
October Afternoon buttons

Sketch for drill #24 (must add buttons for the challenge):

drill  #24 plus buttons

TFL!

Previous Older Entries