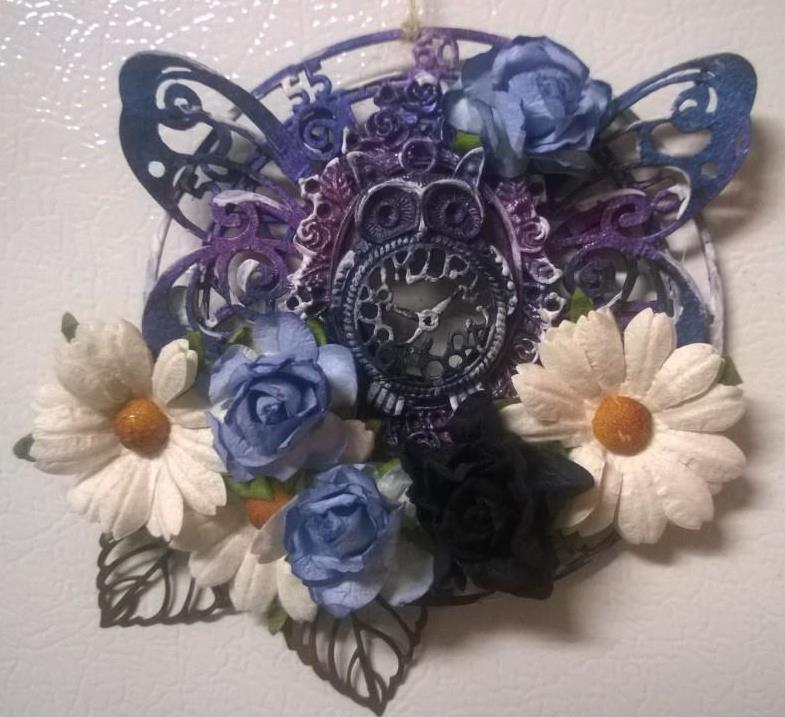
I finally got a chance to play around with the fabulous Creative Embellishments’ February Mixed Media Kit. I absolutely love everything that’s included! There are tons of fun bits like wood veneer mini tags, title pieces, flowers, acrylic words and hearts, metal embellishments, along with a full sized mist and embossing powder too! Be sure to check out the pic at the bottom of this post that shows everything that comes in the kit! 😀
Since I wanted to create a piece to go in my daughter’s bedroom, I decided to go with a fairy theme. She adores everything magical and mystical, especially fairies. 😀 To start out, I peeled of the protective layer that’s over the acrylic to keep it from getting scratched in transit, then used modeling paste and the stencil that comes with the kit and applied a thin layer to the back of the LOVE word piece. Once that dried, I used 2 different colors of Maya Gold metallic paint to coat the back of the Love piece and the base. I used a pink shade for the word and a purple for the base. Once that dried, I applied a Hematite shade to the edges of both pieces. To alter my fairies (sold separately), I used PITT markers and coated the wings with a metallic blue Maya Gold paint. Then finished it off with flowers from my stash and the metal butterfly piece from the kit. Here’s how it turned out:

There are sooo many awesome goodies in the kit, I decided to make a tag to go with it. To create the tag, I used one of the precut chipboard tags as my base, blotted it with a light gesso, then stamped over it with the CE script stamp. I then added one of the chippy heart arrows, and 3 of the flowers from the kit, pearls from my stash and a flair button (sold separately) and added a large flower from my stash to anchor it. A bit of ribbon and it was done. How easy is that? 😀 Here’s how it turned out. Left is without a flash, the right is with a flash.

This final pic just shows how I dabbed the dark metallic gray on the edges of the piece to give it a bit more dimension. 😀

I hope you enjoyed my project as much as I enjoyed making it! I also hope you check out the fabulous February Kit. After making both these pieces, I still have enough product left over for a layout and another tag or two!